How to Make E Liquid
The Vont Team
Recap: To make a DIY e-liquid, you need the four key ingredients: PG, VG, Nicotine, and flavourings. Once you've assembled all 4 ingredients, mix them according to your desired taste and allow the mixture to sit for 4 to 5 days before vaping.
If you're like most people, you probably don't think about the ingredients in your vape juice... until now.
In this guide, we'll go over how to make e-liquid at home. We'll also take a look at some of the most common ingredients used in vape juice. By understanding what goes into your e-liquid, you can better customize your vaping experience to suit your taste.
So, let's get started!
What do you need to make E-liquid?
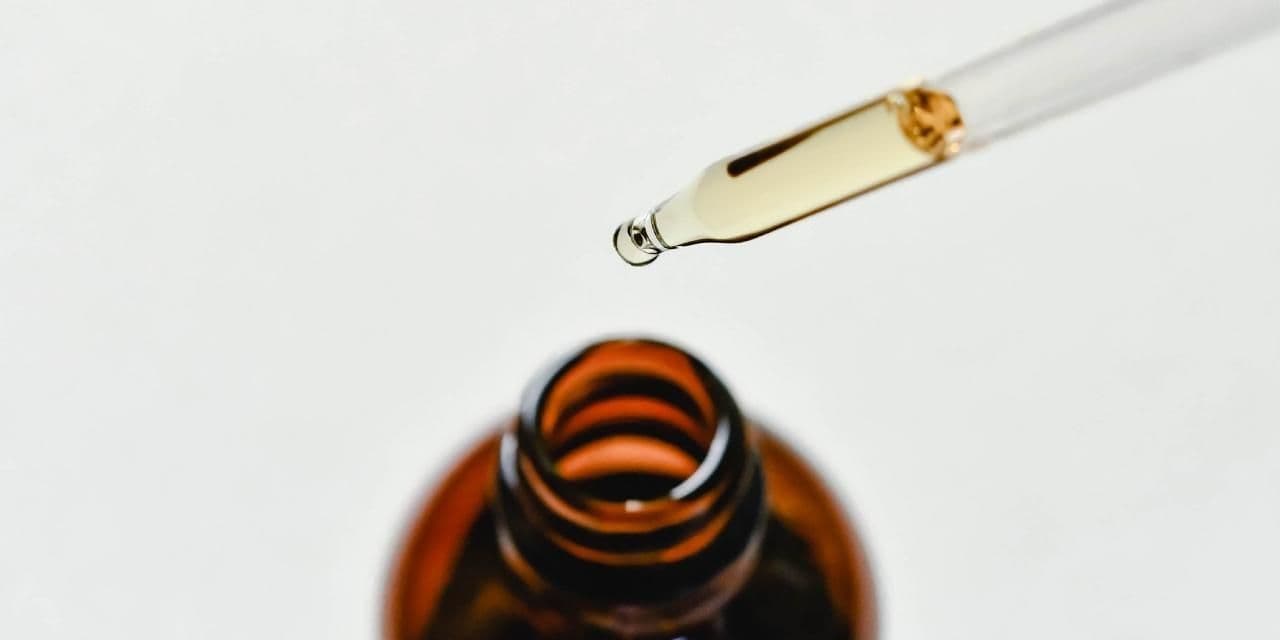
Before you rush off to start making your own e-liquid, there are a few tools and ingredients you need to get in order. These tools of the trade will help you measure, mix and prepare your e-liquid to suit your desired taste.
Here are some of the items you need to procure:
- Syringes
You can pick these up from your local pharmacy or online. They come in all sorts of sizes, but you want to make sure that you get one that is big enough to comfortably hold the amount of liquid you'll be working with. A 3ml or 5ml syringe is a good place to start.
- Mixing Bottles
Again, these can be picked up at your local pharmacy or online. You want to ensure that you get bottles with a tight-fitting lid, as you don't want your e-liquid leaking everywhere. Glass or plastic bottles are both fine to use as long as they are 5ml or 10ml mixing bottles.
- Storage bottles
One of the most important pieces of equipments you'll need is a good quality e-liquid storage bottle. Storage bottles come in sizes ranging from 30ml to 100ml and are available at your local mall. Alternatively, you can also use bottles from already consumed e-liquids. Just be sure to wash them properly so that the e-liquid residue doesn't mess up the taste and flavour of your DIY e-liquid.
- Nicotine
This is an optional ingredient, but if you want to make your own nicotine vape juice, you'll need to purchase some concentrated nicotine solution or salt. Again, you can buy this online from various vendors; just make sure you do your research and only buy from a reputable source.
- Vegetable Glycerin (VG)
This is the base of your e-liquid, and you'll need to purchase this in order to make your own vape juice. VG is a thick, sweet liquid that produces huge vapour clouds when vapourised. It's also what gives your e-liquid that characteristic "throat hit."
- Propylene Glycol (PG)
This is another base ingredient that is used in e-liquids. It's a thinner liquid than VG and doesn't produce as much vapour when vapourised. However, it carries flavour better than VG, so it's often used in higher proportions to give the e-liquid a more pronounced flavour.
- Flavouring
This is the fun part! You can use any type of food-grade flavouring that you like. Thousands of different flavourings are available, so you're sure to find something that suits your taste.
Now that you have all your ingredients and supplies, you're ready to start mixing!
Step-by-step guide to making E-liquid

- Start by sterilising all of your equipment. This is important as you don't want any bacteria or impurities getting into your e-liquid. You can do this by boiling your bottles and syringes in water for 10 minutes.
- Once everything has cooled down, it's time to measure your ingredients. For this guide, we'll be making 100ml of e-liquid, so we'll need to measure out:
- 100ml of VG
- 50ml of PG
- 8ml of nicotine
- 20 drops of flavouring
These measurements are standard for this example. You can also use an e-liquid calculator to determine the measurements you need for your e-liquid mixture.
- Pour the VG, PG, and nicotine into your mixing bottle. If you're using concentrated nicotine, use gloves, and a face mask, as it can be harmful if ingested or absorbed through the skin.
- Add the flavourings to the bottle and screw on the lid tightly.
- Shake the bottle vigorously for 2-3 minutes so that all of the ingredients are mixed together properly.
- Your e-liquid is ready to be transferred into your storage bottles! Use your syringe to suck up the liquid and squirt it into the bottle. Make sure to label the bottles, so you know what's inside them.
- And that's it! You're done. Your liquid is not quite ready to be vaped yet, as vaping it immediately might give you an underwhelming and unfavourable taste. Allow the mixture to steep in a cool dark place for about 4 to 5 days. This will enable the mixture and the flavorings to mix and mature properly so you can get a sweet and uniform taste.
Tips for mixing your own E-liquid

- Don't be afraid to experiment with different flavourings. There are no rules when it comes to making your own e-liquid, so feel free to mix and match until you find a flavour that you like.
- If you're unsure how much nicotine you should use in your e-liquid, start with a lower concentration and work your way up. It's better to err on the side of caution when it comes to nicotine, as it can be harmful if used at too high a concentration.
- Don't forget to label your bottles! This is important as you don't want to accidentally drink your e-liquid or use it on your skin.
- E-liquid can go bad if it's not stored properly, so be sure to store it in a cool, dark place. Glass bottles are best, as they won't let in any light.
Bottomline
If you're looking for a more affordable way to vape or just want to experiment with making your own e-liquid, DIY is the way to go. With the right ingredients and a little bit of know-how, you can create a flavour that's perfect for you.
And if you decide that DIY isn't for you, we highly recommend giving Vont e-liquid a try. Our premium flavours are sure to please even the most discerning vapers. So what are you waiting for? Head over to our website and order some today!
Be the first to be informed about new arrivals.
Get the latest information
Be the first to be informed about new arrivals and receive a 10% discount on your next purchase.
